Mounting Your Rubber Stamps
Congratulation on purchasing your Stampin’Up!™ stamp set!! If you’re new to SU! Products, you may not be sure how to mount your new stamps. I’ll show you the way that I mount my new sets. It’s really easy, so let’s get started…
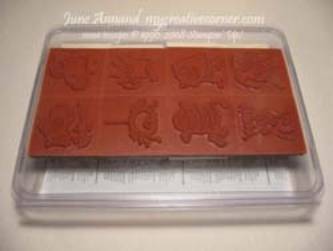
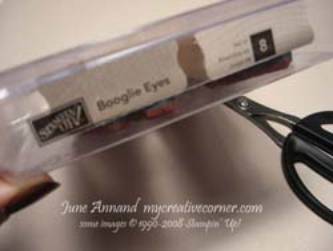
This is how your stamps will arrive in their storage case.
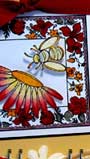
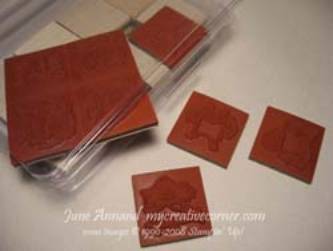
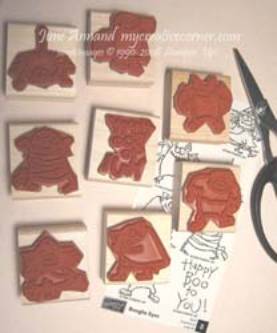
First, separate the rubber stamps from each other and select one to trim.
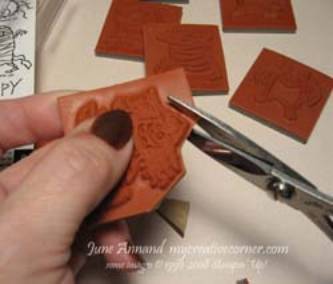
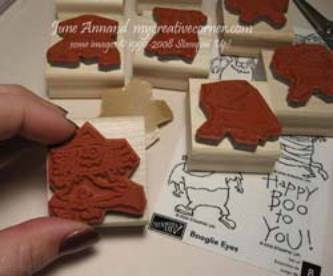
Trim the rubber close to the image making straight cuts. Don’t curve around the image because you can undercut the foam!
Match all of your trimmed rubber images to an adequately sized wood block. Doing this first keeps you from accidentally mounting the wrong size image to an inappropriately sized block.
Peel off the backing paper and press the rubber image to the block.
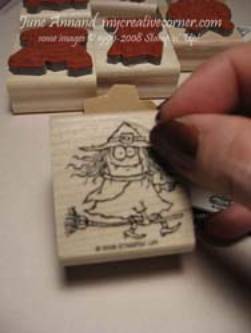
If necessary, trim your clear label and apply it to the top of your rubber mounted block, lining it up to match the position with your stamp.
Don’t forget to adhere the stamp set’s label to the storage box.
Now, enjoy using your new stamps!


|
|