Easy Coaster
Chipboard Album
Supplies (those listed in parenthesis are from Stampin'Up!):
4 x 4 inch Coaster Chipboard
Stamps (Stampin' Up Voila, Party Hearty,
Crazy for Cupcakes)
Paper (Bashful Blue, Real Red, Pumpkin Pie, Old Olive,
Whisper White)
Inks (black, Bashful Blue, Real
Red, Pumpkin Pie, Old Olive, SU markers for coloring)
Embellishments (The items I used are ribbon, silk flowers, brads, chalks,
dimensional popdots, mono-multi glue, BigShot, Naturally Serif Sizzlet Alphabet,
Serif Essentials Alphabet, SU punches: photo corner, designer label, scallop
circle, 1/4 inch circle, spring bouquet flower.)
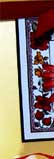
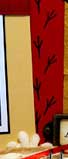
This type of album is very easy to assemble - it's held together by 2 long
strips of ribbon. In the picture directly below, you will see how I
started laying out the strips of ribbon about 3/4 inch from the top of the
coaster edges and leaving 1/4 inch gap between coasters so that it would fold
accordion-style when closed. I needed nine coasters all together based on
the amount of pictures that I wanted to use.
Keep the ribbon in one long, continuous piece for
strength. Glue or "scotch-tape" the ribbon in place. Repeat this step with
the ribbon about 3/4 inch from the bottom edges.
Cut enough cardstock (or pattern paper) in 4x4
inch squares. (I needed 18 pieces altogether.)
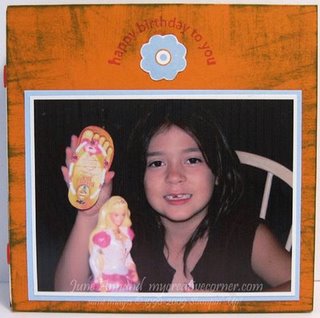
Swipe the edges of cardstock with an inkpad to
add some visual interest.
Glue the squares on the front and back of the
coasters, alternating colors/patterned paper on both sides, then decorate each
square. (I used Tombo Mono-Multi glue for this step.)

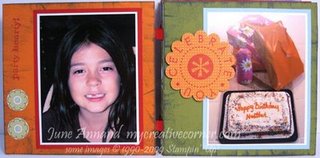
A suggestion - use wallet sized photos! This picture size is perfect for
projects like this!
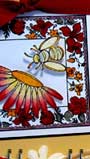
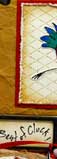
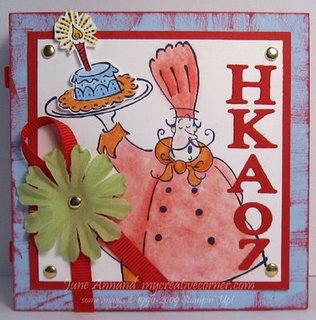
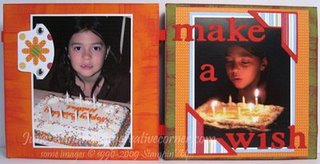
Our family was celebrating my daughter's birthday
in 2007, and the letters on the front cover are my daughter's initials. I used
the BigShot and Naturally Serif Alphabet Sizzlet strip die for that purpose. The
chef serving the birthday cake is chalked and watercolored with markers. The
cake is directly colored with markers. The following pictures are close-ups of
each page.
|
 |
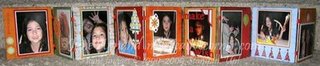
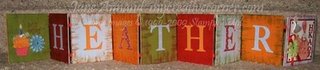
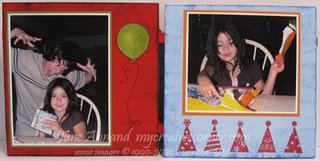
The back side of the
album spells out my daughter's name. It's the second picture at the
beginning of this page. It starts off with a cupcake block, then a letter
on each block thereafter. I used the BigShot and Serif Essentials Alphabet
dies for this...
My
daughter loved this little keepsake for her. I'm sure you can think
of a very special someone who would appreciate a gift like this one, too!
|
|
 |